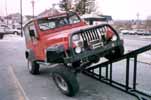
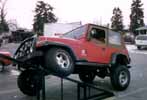
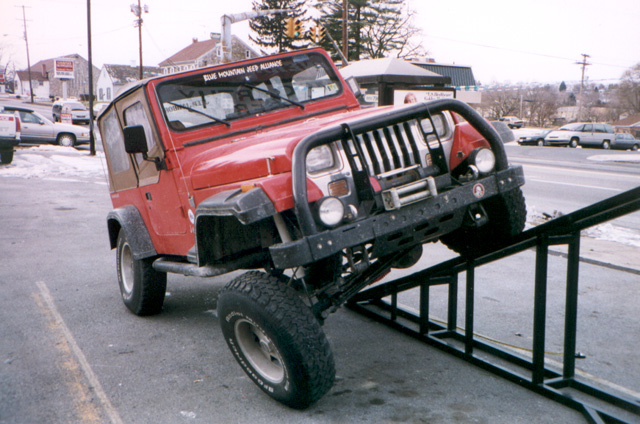
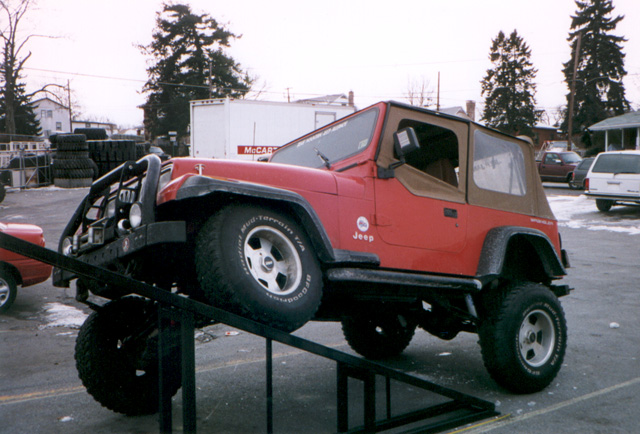
Rubicon Express Spring-Over-Axle Conversion

Parts List:
- 2 - Offset Spring Perches (Front)
- 2 - Standard Spring Perches (Rear)
- 2 - Doetsch Tech 32" Shocks (Front)
- 2 - Doetsch Tech 28" Shocks (Rear)
- 2 - Front Shock Reversal Brackets
- 2 - Front Brake Line Extensions
- Detroit Limo
- 1 - Drop Pitman Arm
- 1 - Front Track Bar Relocation Bracket
- 1 - 1" Transfer Case Drop w/Hardware
- 1 - Rear Brake Line
Tires, brake lines, and axles are just some of the parts that can take your stock Jeep Wrangler to the next level. ExtremeTerrain's Jeep Wrangler parts catalog will have all the parts you need for an installation project
Installation Instructions:
- Place front of Jeep on jack stands and remove tires.
- Remove front shocks, brake lines, vaccum lines, electrical connection, and
breather tube from front axle.
- Remove drag link from pitman arm and tie-rod.
- Unbolt front driveshaft from pinion yoke.
- Remove u-bolts and slide axle out from above springs.
- Weld offset perches to front axle opposite from factory perches. Outside
spacing should be 32". Perches should be 5 degrees more positive than stock.
- Replace stock pitman arm with drop arm.
- Attach front track bar relocation bracket to axle.
- Clamp spring packs and reverse locator pins.
- Place front axle under spring packs and raise until locator pins seat into
new perches.
- Place spring plates on top of spring packs and secure with u-bolts.
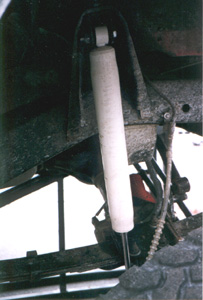
- Bolt front shock reversal brackets to hole in top of shock tower. Install
front shocks upside-down.
- Add front brake extensions between brake lines and stock hoses. Re-mount
hose mount to the bottom edge of the outside of the frame to the front of the
bumpstop. Attach brake hose to caliper.
- Re-attach vaccum lines, electrical connection, and breather hose. Ensure
that all attachments will extend downward during axle droop.
- Install tires and lower front end.
- Place rear of Jeep on jack stands and remove tires.
- Remove rear brake hose, shocks, and breather tube. Unbolt rear driveshaft
from pinion yoke.
- Loosen emergency brake adjuster and remove both emergency brake cables
from frame.
- Remove u-bolts and remove axle from above spring packs.
- Weld new perches opposite factory perches. Match outside measurement to
stock perches. Mount new perches 2 degrees more positive than stock
perhces.
- Clamp spring perches and reverse locator pins.
- Place axle under rear springs and raise axle until locator pins seat into
new perches.
- Place spring plates on top of spring packs and attach with u-bolts.
- Install new rear brake line and rear breather tube.
- Drill 9/16" hole into bottom of emergency brake cable mounting bracket.
Route driver cable through new hole. Route passenger cable through rubber
muffler mounts (Remove body mounting bracket from cable).
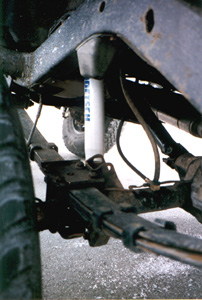
- Install new rear shocks upside-down.
- Install tires and lower rear of Jeep.
- Support transfer case skid plate with floor jack. Unbolt 6 skid plate
bolts.
- Lower jack enough to install 1" box steel. Line-up holes and install new
bolts.
- Ensure transfer case can be shifted into all modes. If manual
transmission, ensure all gears can be engaged. If not, some floor board
trimming may be required.
- Re-attach front driveshaft. Install LENGTHENED (1-1/8") rear driveshaft.
- With Jeep on level ground, install front track bar and tighten.
- Re-install draglink.
- Bleed brakes and re-adjust emergency brakes.
- Articulate axles with floor jack or other method and check to make sure
that nothing is pinched, stretched, or binding.
- Most importantly of all....Happy Jeepin'!
Afterthoughts:
- Use stock rear 5-leaf spring packs on front & rear.
- Front brake lines not long enough - even with supplied extensions
- HIGHLY RECOMMEND use of Transfer Case Output Conversion Kit